Looking back at my last post, that was 1st October. Where I first stated that I started this quilt... Yes, so long ago, yet it's not a big quilt. A quilt for a baby!
Well, the number one reason for the long slow progress has been that I am now pregnant :) and have had pregnancy fatigue constantly since then! Yes, I don't tell a lie, the tiredness has been inconvenient... But on the other hand it's been sweet paradise to have so many early nights and fulfilled sleep! Bliss!
Even though I'm expecting (a girl due in June) ... This sweet baby blanket has been in work for some close friends who are expecting their first child next month. (Also a girl)
Here are the stages that have taken place since my last post.
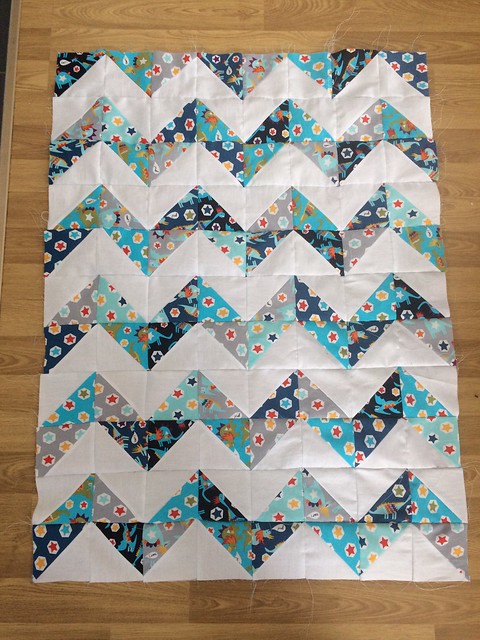
I am working on a quilt, a baby quilt.
Each pinwheel block consists of 4 smaller blocks sewn together. So I had to account for seam allowance from the smallest block.
I needed for each full pinwheel block, 4 solid whites and 4 patterned.
Cutting - … urgh! What felt like millions! (in reality was only 280)
I'm still trying to channel the “happy place” where quilters go to get into the rhythm of cutting and cutting and cutting. If such a place exists.
Then it was to pin the little blighters to make the quarter of each pinwheel.
Now I could see it coming together … ;D
Then – was to sew the little pinwheels into actual pinwheels.
Think about the centre points here for a minute. You've got folded on folded pieces of fabric. My sewing machine definitely needed a new needle before starting this project (and probably also needs one again now) We got there in the end. After a few tough points when making these little pinwheels. Happy to report no dropped stitches or broken needles though!
Then the point was to make it random (easier said than done)
Excuse all the bad pictures – you can tell I've been working on it in the evening times in different rooms in the house, with multitude of lighting effects and silly Instagram filters.
Then, to sew the blocks together
I caved and went to the local haberdashery to search for fabric for the reverse, which truth is - one of my favourite places, it's just a place I can spend money in VERY easily! It's easier to go whe I have a definite project in mind, otherwise I just buy everything!
So, reverse side material bought. From the same material collection, but in a colour that was not in the mix on the front of the quilt.
The lady recommended a border as well, I had not thought about adding a border other than the binding, but when she folded it over to show me, it instantly gave it a "finished" feel. Looked great! Great idea.
Once the border was added, I realized that I did not want a binding. I searched online for hints and tips to do the "pillowcase method" and found a great tutorial from red pepper quilts.
And here - finally ... 4.5 months later...