Monday, July 14, 2014

Staying creative


This week, I reminded myself that I don't necessarily need hours and hours of time to make something cute and simple. 

The challenge that I have at the moment is to have time + motivation + creative mojo all at the same time. This bag however, was created without a plan. 

Off cut of upholstery fabric from ikea (from the bargain bucket) and an hour of my time. 

I didn't really measure anything either - this is for me, so I'm willing to have a bit of wonkiness. It didn't turn out wonky though! 

Little tote bag, suitable for me and my everyday needs :)

Monday, May 5, 2014

Cloudy Day - Beginners Crochet Baby Blanket

I finally finished this baby blanket!

 
TUTORIAL - on how to make a granny square
TUTORIAL - on how to join granny squares
INSPIRATION - on how I edged the blanket
(all external links are tried and trusted by me)

I started it way back in November last year, and it was always the plan that it was going to be plain blue with white clouds. In January I had finished the main blue blanket and was struggling to successfully make clouds that I liked. I tried many ways to crochet the clouds initially, and even though they ended up being correct and looking like they were meant to, I just was not happy with them. So, because of this, the blanket lost momentum and I had to put it away.

This past week, I eventually got round to thinking about this again - needing a newborn present for my new 2nd cousin Ben, it would be perfect! All that was missing was the clouds. Kicking myself up the rear, I went to a local fabric shop and bought an offcut of lovely soft fleece. Lucky that it was there as an offcut, as I knew I had to be really fussy about it. It could not fray or lose fluff at the cut edges. (a lesson I learnt the hard way recently with another fabric)

After cutting the clouds into curvy soft cartoon-y shapes. They were hand sewn on in the evenings.
Now, finsihed, freahly wahsed and ready to be packed to be sent to Ben.

I hope that you like it too! ♥

Wednesday, February 19, 2014

The start of my 3D Mosaic Flower - Part 1 of 4

I've had a project stuck in my head for what seems like ages now. At least 6 months I'd say. Inspired by this "PIN" on pinterest [follow me here] I saw this amazing 3D mosaic flower that was truly inspiring. Inspiring so much so that I had to make something 3D and mosaic, (jump in to the deep end why not?!) Previously mosaic projects had never really inspired me. I'd never really looked at mosaic projects and thought "Yeah I wanna have a go" but this one got me daydreaming about making one of my own.

The mosaic experience I have is watching the husbeast tile the mosaic backsplash in the kitchen, or I'm sure I must have done it as an activity as a child, but I cannot think if I have done so or not! So - trust me, I'm no expert!

I'd imagine you learn to mosaic by doing nice flat things - trays and mirror frames, I have even thought about starting on a more simple project like that before attempting the flower to get used to working with the putty and playing with mosaic tiles - pfft, I dont know if I can be bothered with that! I just wanna get stuck in, learn by doing (learn by making a million mistakes - probably) and not starting with those simple projects - afterall - the 3D sculpture part of it is what has drawn me like a moth to a flame.

Hmmm ... Supplies ... Well, I haven't yet got everything - but I have enough to START.
• Alu-mesh (I got it from the DIY store about 4 months ago!)
• Plaster of Paris (Bought from Ebay about 6 months ago!)

So, husbeast went out to the pub last night - and once the baby was in bed, I went down to the hobby room, whilst watching a few of my favourite programs made a start on building the mesh.

I'm thinking tulip ... so, I cut out large petal shapes from my alu-mesh. Free-hand cutting.


I then attached them together by using craft wire. I used the wire as you would needle and thread, weaving in and out making look like a sewn seam. It does not have to be neat, it will be covered eventually.


Note: once you've cut the mesh - my god it can get prickly! Scratches, pricks, prods and pokes - I think I should have attempted it wearing long sleeves because my arms were itchy from all the contact with the cut edges, luckily no blood! Afterwards, I soothed my arms after I'd finished by putting antiseptic cream on! - so next time I do this, I'll be working with long sleeves for this part for sure!

 
I also added a mesh base, attached with the craft wire - and it started to look like princess lillifee's crown rather than the bulbus tulip shape that I want. So with more wire, I pinched the petals a little further up ...

 
Looking much better! I wish I could take better photographs of this stuff. It's a nightmare!

Next step will be to cast it in the plaster - the messy bit! I'm not a big fan of playing with messy sloppy stuff ... but it has to be done! I'm looking forward to having it cast into it's shape.

So, to be continued SOON! I'll probably find the time one evening this week to continue :)

Sunday, December 8, 2013

What a busy time of year ...

Counting down 'til Christmas ...

Lots of presents made ...

Blanket for my Nephew ... (you saw this in progress a few months ago, it's been finished for a while now)

 
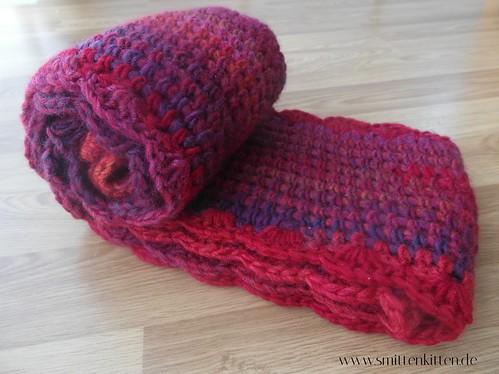
Infinity Scarf for my husbands Auntie (So she's my Auntie too!) ...


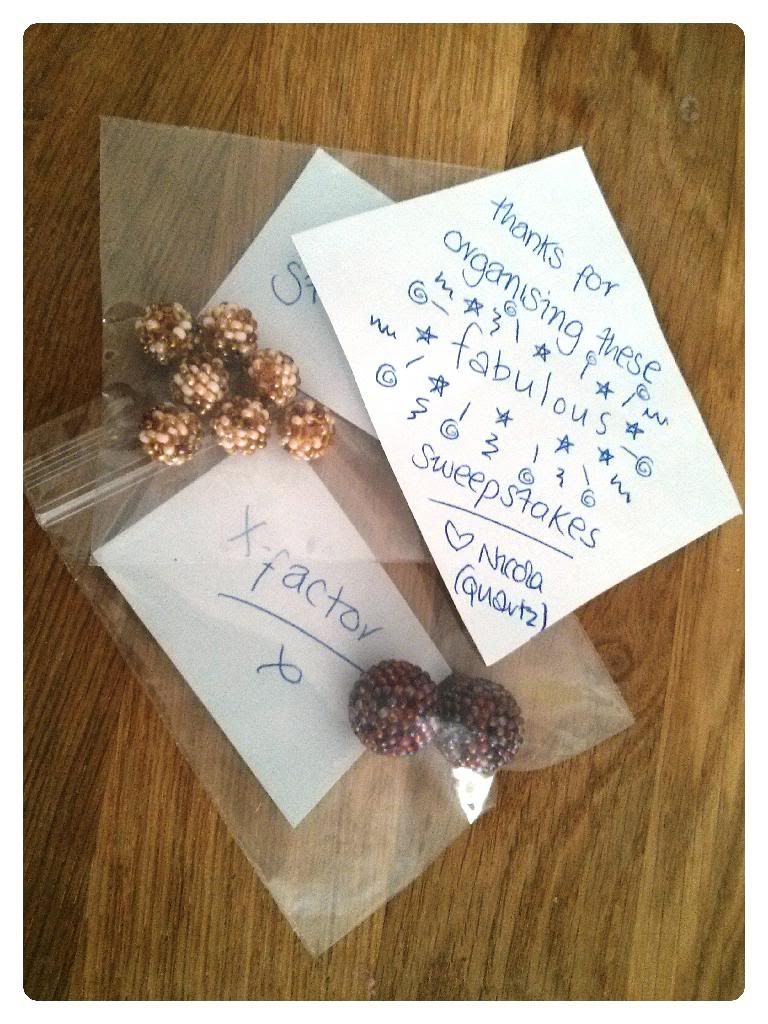
Beaded Beads for Sweepstakes that I am in ...

I also have two secret Santas finished! but it's not right for me to show you those at the moment, just in case the recipients visit my blog.

I wish that I had made more, but time has flown.
I still have some collage photo frames to do of my son for both sets of Grandparents, as well as do some pictures for the Aunties and Uncles. That is my mission for this week.

Love to you all
x

Saturday, October 19, 2013

Blogtoberfest Day #19 - Guilty purchase... ooh look what i have!

In my local craft shop... I found some real leather offcuts! Maybe I'm starting to channel work, I used to touch leather every day but obviously for the past year I've been on maternity leave so have not seen leather offcuts or hides for a good while!
For 0.5kg they are a reasonable price and I think I'll use them to make some keyrings or include in some jewellery.
I also treated myself to a leather punch too... I'm getting lots of ideas! Too many ideas and not enough time to make them all!
What would you make?

Friday, October 18, 2013

Blogtoberfest Day #18 - Sunny autumn

I met up with a friend today in Tübingen. It's such a beautiful town. Full of cobbled streets and old beautiful buildings. The weather was absolutely glorious as well. Not cold at all, perfect autumn day.
We had our babies with us and strolled round the town, did a bit of shopping, had lunch and ice cream in the park.
My maternity leave is fast coming to an end. I'll miss days like this!

Thursday, October 17, 2013

Blogtoberfest Day #17 - Preparing for Stitch 'n' Bitch

I go to a monthly meet up ... "Stitch n Bitch" which is organised by the International Womens Club (Stuttgart). I initially joined the club because I was interested in the playgroups for Zach. Once I became a member and realised that they also did a stitch and bitch I was overjoyed!

Since joining I try and go to every one.
They are always hosted at different members houses, this month it's at my house.
It's a shame the new couch will arrive 2 days later! *tsk!*

I've just had a look to see if it's going to be busy, looks like minimum 8 people!
Everyone always brings a dish to share, so there's always too much food. As host, I'll need to sort out the drinks and decided on a dish to make too.

And, maybe most importantly, what craft to do?
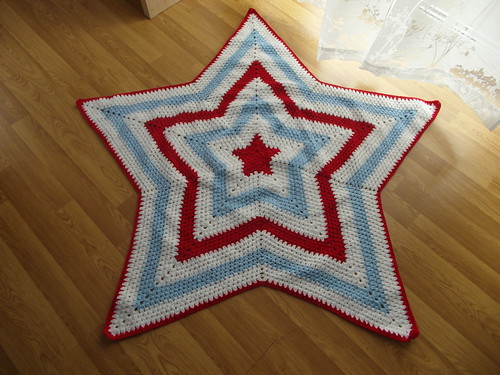
Should I stick with my Star afghan? Or maybe get my beads out.

Decisions decisions!

I am thinking maybe to offer showing people how to make a necklace if they fancy it.
Normally people are happy to bring and work on their things, but I have so many beads and years of experience, it could be nice to offer. :)

What do you think?